Trading
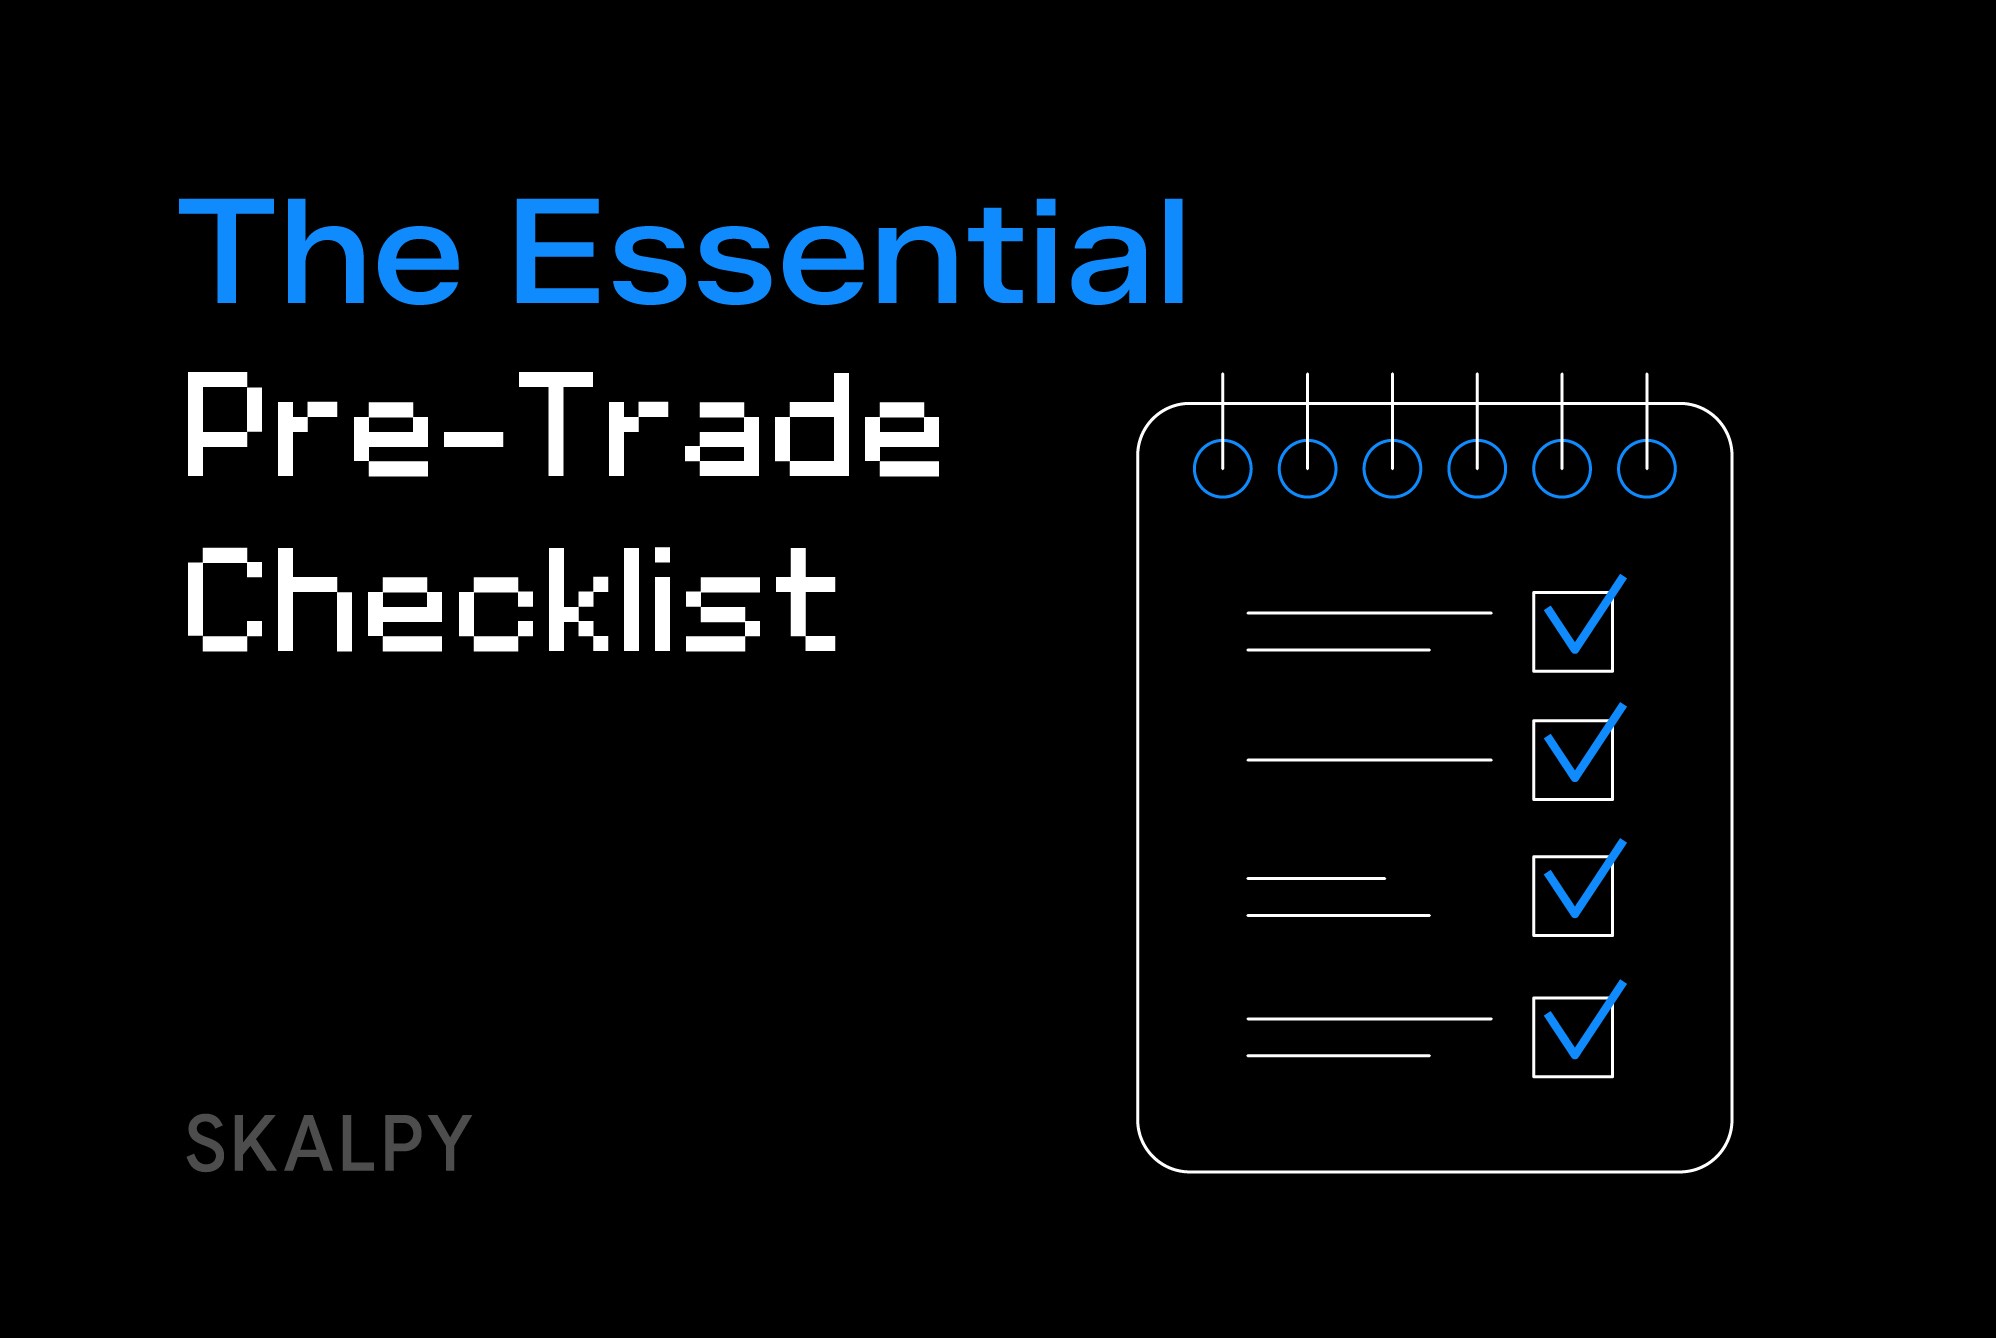
The Essential Pre-Trade Checklist: Never Enter Without These Confirmations
Feb 26, 2026
written by:

The difference between impulsive gambling and systematic trading often comes down to a single habit: using a pre-trade checklist. A checklist creates a mandatory pause between seeing an opportunity and acting on it, filtering out trades driven by emotion rather than logic.
Professional traders use checklists not because they lack experience but because checklists prevent costly mistakes. Even experts get caught up in excitement, FOMO, or frustration. A checklist interrupts these emotional states and reengages rational thinking.
Why Checklists Are Essential
They Create Consistency
Trading profitability comes from executing the same process repeatedly. Without a checklist, your approach varies based on mood, recent results, or external factors. This inconsistency prevents your edge from manifesting across enough trades.
A checklist ensures every trade receives the same analytical rigor, creating the consistency needed for statistical edges to work.
They Prevent Emotional Trading
When you feel strong urgency to enter a trade, that's often emotion talking. A checklist interrupts the emotional impulse, forcing you to verify the trade meets objective criteria. Many trades that feel compelling fail checklist scrutiny.
They Reduce Overtrading
Overtrading often stems from taking marginal setups that don't quite meet your standards. A checklist acts as a filter, rejecting these borderline trades and keeping you focused on high-quality setups only.
They Build Discipline
Following a checklist every single time, even when inconvenient, builds the discipline muscle. This discipline transfers to other critical areas like respecting stops and managing risk.
The Core Pre-Trade Checklist
Here's a comprehensive checklist covering essential elements every trade should satisfy before execution.
Setup and Strategy Confirmation
Does this setup match my defined strategy?
Every trader should have specific setups they trade. Don't take random trades because they "look good." Verify this specific pattern, indicator combination, or price structure is one you've defined as tradable.
If you can't name which setup this is, you shouldn't be trading it.
Have I seen this setup work before?
Trade patterns you have evidence work for you. Don't experiment with new setups using real money without paper trading or backtesting them first.
Does this trade align with higher timeframe direction?
Check at least one timeframe higher than your trading timeframe. Trading against higher timeframe trends reduces probability. If you're buying on a 5-minute chart, verify the 15-minute or 1-hour chart supports bullish bias.
Technical Confirmation
Is price at a logical level?
The best trades happen at obvious support, resistance, or other significant levels. Random entries in the middle of ranges or trends have lower probability. Verify price is at a level where reactions typically occur.
Do I have multiple confluences?
Strong trades show multiple factors aligning: support level plus trendline plus indicator signal, for example. Single-factor trades are weaker. Aim for at least two independent confluences.
Is there clear room to my target?
Verify nothing obvious blocks your path to target. If you're buying with a target at resistance but another resistance level sits between entry and target, your trade faces an obstacle.
Risk Management Verification
Is my stop loss placement logical?
Stops should be based on market structure, not arbitrary distances. For longs, stops go below support or recent swing lows. For shorts, above resistance or swing highs. If you can't identify a logical stop location, the trade isn't ready.
Does this trade meet minimum risk-reward requirements?
Calculate risk-reward before entering. Most trades should offer at least 1:2 risk-reward. If risk-reward is worse than your minimum, skip the trade regardless of how good it looks.
Am I risking the correct position size?
Never risk more than 1% of your account on a single trade. Calculate position size based on your stop distance. Bigger stops require smaller positions to maintain 1% risk.
For scalpers using Skaply, position size calculators built into the platform help ensure you're sizing correctly for each setup's specific stop distance.
Do I have room in my daily loss limit?
Check how much you're already down today. If you're near your daily loss limit (typically 3-5% of account), either skip this trade or reduce position size further. Never take a trade that could push you over your daily limit if it loses.
Market Condition Check
Is liquidity sufficient?
Verify adequate volume and tight spreads. Check the order book depth if available. Low liquidity means higher slippage risk, which can eliminate profitability especially for scalping.
Is volatility appropriate for this strategy?
Some strategies need volatility, others suffer from it. Scalping needs moderate volatility. If volatility is extreme, consider reducing size or skipping trades entirely.
Am I trading during optimal hours?
For crypto, optimal liquidity typically occurs during U.S. and European business hours. Weekend trading and late-night sessions show reduced liquidity and increased manipulation risk.
Personal State Assessment
Am I emotionally balanced?
Check your emotional state honestly. If you're angry about a previous loss, overly excited about recent wins, or feeling any strong emotion, pause before trading. Emotional states cloud judgment.
Am I seeking revenge or trying to recover losses?
If your motivation is recovering from earlier losses, that's revenge trading. Stop immediately. Revenge trades almost always make situations worse.
Am I trading out of boredom?
If you're taking this trade because you feel you should be doing something rather than because it meets criteria, that's trading for stimulation. Wait for genuine setups.
Have I had adequate rest?
Fatigue impairs decision-making as much as alcohol. If you're tired, trading quality suffers. It's better to skip a session than trade while exhausted.
Execution Planning
Do I know my exact entry price?
Don't enter "around here somewhere." Know your precise entry level. For limit orders, specify the exact price. For market orders, know the current price you expect.
Are my stop loss and target pre-set?
Both should be determined before entry, not decided later. If using a platform that allows it, place your stop loss order immediately after entry. Set alerts for your target level.
What's my plan if this goes against me immediately?
Decide now how you'll handle adverse movement. Will you exit immediately? Wait for your stop? Having this plan prevents panic decisions.
What's my plan if this goes in my favor quickly?
Similarly, decide how you'll handle favorable movement. Will you move stops to breakeven? Take partial profits? Let it run? Plan this now.
Using Your Checklist Effectively
Make It Physical
Write your checklist and keep it visible. Digital checklists on phones get ignored. A laminated card next to your screen forces acknowledgment.
Actually Check Every Item
Don't just glance at the checklist. Consciously verify each item. This takes discipline but prevents disasters.
No Shortcuts
Even for "obvious" trades, go through the full checklist. The trades that seem most obvious are often where emotion is strongest and objectivity is lowest.
Track Compliance
In your trading journal, note whether you followed your checklist. Review this data to see if your worst trades correlate with checklist violations.
When to Override Your Checklist
The answer is almost never. Checklists exist specifically for moments when you're tempted to break rules.
The only legitimate override is when market conditions change so rapidly that checklist completion would mean missing the opportunity entirely. Even then, you should mentally verify the critical items (stop placement, position size, risk-reward) before executing.
If you find yourself frequently wanting to override your checklist, either your checklist needs modification or you need stronger discipline.
Customizing Your Checklist
This checklist covers essentials, but customize it for your specific strategy and common mistakes.
Add Items for Your Weaknesses
If you consistently overtrade after wins, add "Have I already taken three trades today?" If you chase breakouts, add "Has price already moved more than 1% from the level?"
Remove Irrelevant Items
If certain checks don't apply to your strategy, remove them. A swing trader doesn't need to verify optimal intraday hours like a scalper does.
Keep It Manageable
Your checklist should be completable in under 60 seconds. If it's too long, you won't use it consistently. Focus on the highest-impact items.
The Bottom Line
A pre-trade checklist is the simplest, most effective tool for improving trading results immediately. It costs nothing, requires minimal time, and prevents countless costly mistakes driven by emotion and impulse.
Create your checklist today. Start with the items above, customize for your needs, and commit to using it before every single trade without exception. The difference in your results will be dramatic. You'll take fewer trades, but the trades you do take will be higher quality with better average outcomes.
Professional trading isn't about taking every opportunity that appears. It's about taking only opportunities that meet your standards. A checklist defines those standards and ensures you honor them even when emotion tells you to ignore them. This one habit separates systematic traders who build consistent profits from impulsive traders who keep repeating the same mistakes.

Scalping
What Is the DOM in Trading? How to Read Depth of Market Like a Pro
Learn how to read Depth of Market (DOM) in trading. Understand order books, bid-ask walls, and liquidity levels to make smarter trading decisions in stocks, futures, and crypto markets.
Trading
Bid and Ask Price Explained: Understanding the Spread in Trading
Learn what bid and ask prices mean in trading, how the spread affects your costs, and why understanding these basics is crucial for profitable trading in stocks, forex, and crypto markets.

Scalping
Which Timeframes Work Best for Crypto Scalping?
Discover the optimal timeframes for crypto scalping, from 1-minute to 15-minute charts, and learn how to choose timeframes that match your trading style.

